Search
Sign in
or
Sign up
.
Wishlist
My Cart
0 items
Home
Category
All Designs
Animals & Pets
Flowers & Nature
Holidays & Occasions
Home & Decor
In the Hoop Projects
Kids & Family
Letters & Monograms
Realistic Designs
Religious Designs
Free Designs
Projects
Step-by-step to embroider
New This Week
Best Sellers
History
Help
Embroidery Designs on Sale
MENU
My Cart
0 items
Search
Menu
Wishlist
Sign in
or
Sign up
.
';
Home
Category
All Designs
Animals & Pets
Flowers & Nature
Holidays & Occasions
Home & Decor
In the Hoop Projects
Kids & Family
Letters & Monograms
Realistic Designs
Religious Designs
Free Designs
Projects
Step-by-step to embroider
New This Week
Best Sellers
History
Help
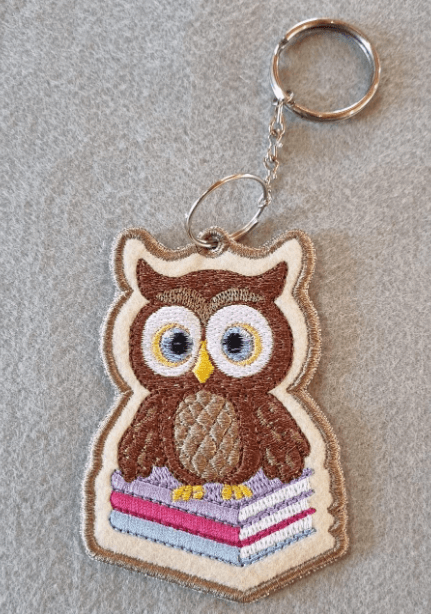
Step-by-Step Owl Keychain
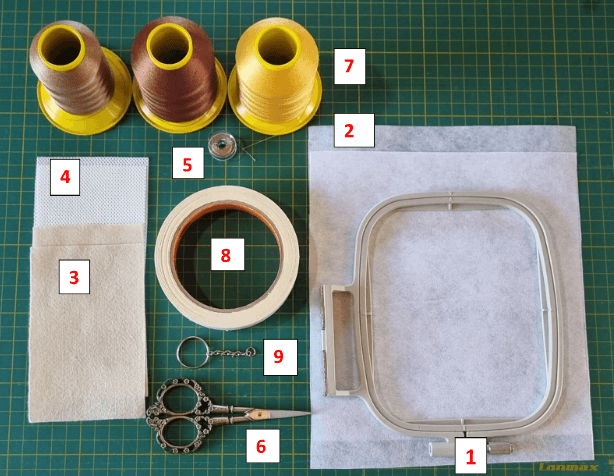
MATERIALS USED
1 - 4" × 4" (10 × 10 cm) Embroidery Hoop
2 - Two layers of Tear-Away Stabilizer
3 - 2 pieces of felt, 12 × 8 cm (4¾" × 3⅛")
4 - 2 pieces of 100 gsm nonwoven fabric (TNT), 12 × 8 cm (4¾" × 3⅛")
5 - Bobbin wound with the thread color chosen for the satin stitch finishing
6 - Small sharp scissors (for trimming)
7 - Embroidery thread
8 - Masking tape
9 - Key ring
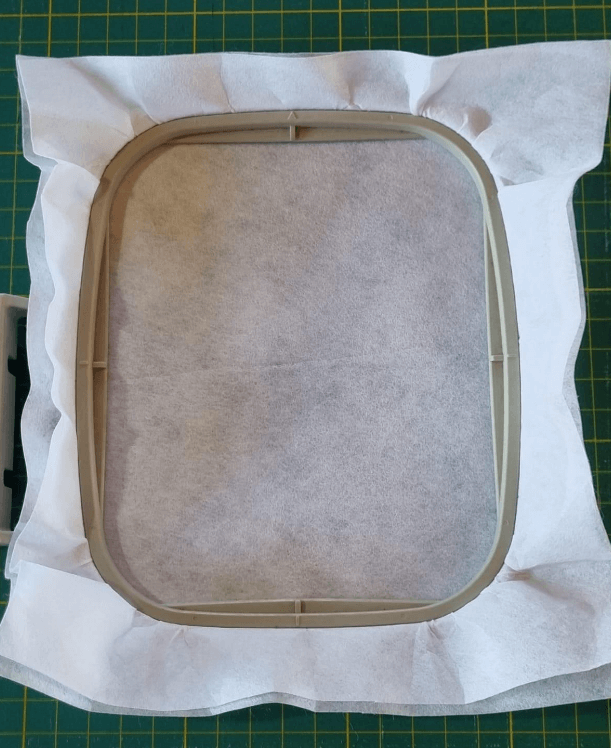
STEP 01
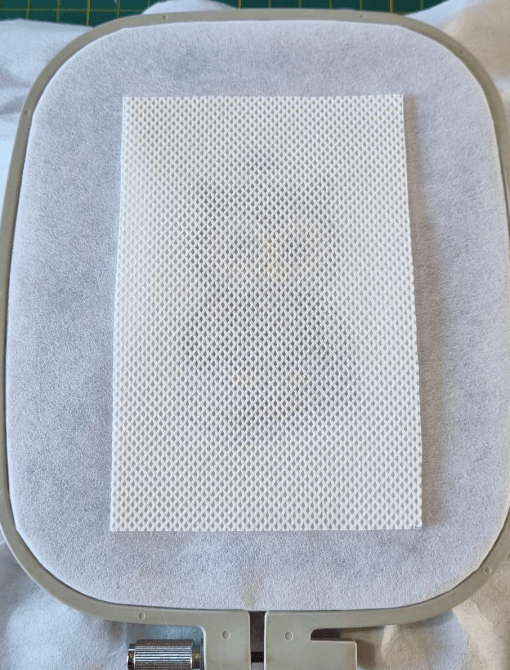
Hoop two layers of tear-away stabilizer.
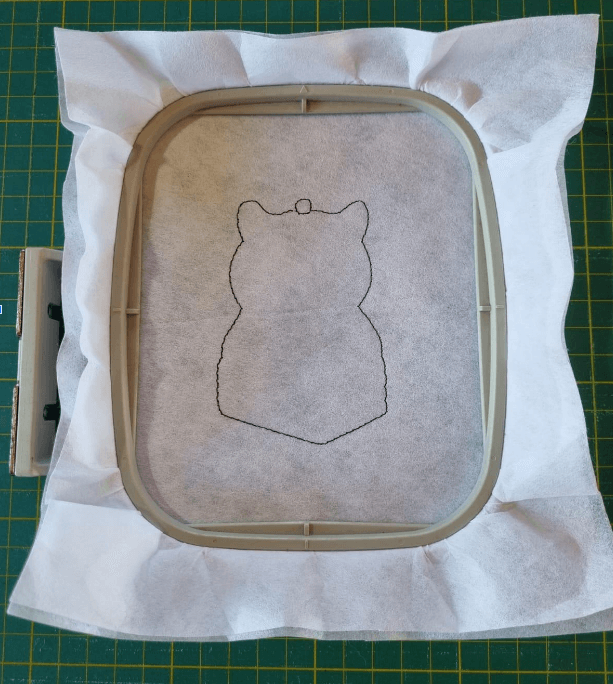
STEP 02
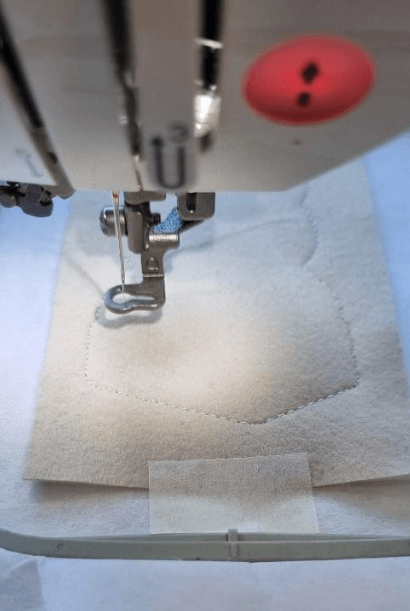
Place the hoop on the embroidery machine.
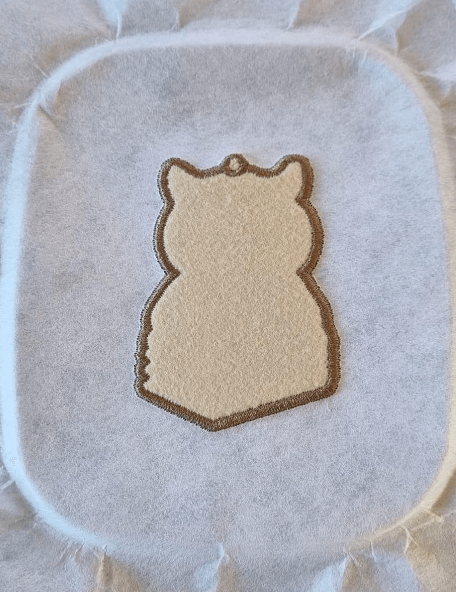
Stitch the first color, which will create the placement line.
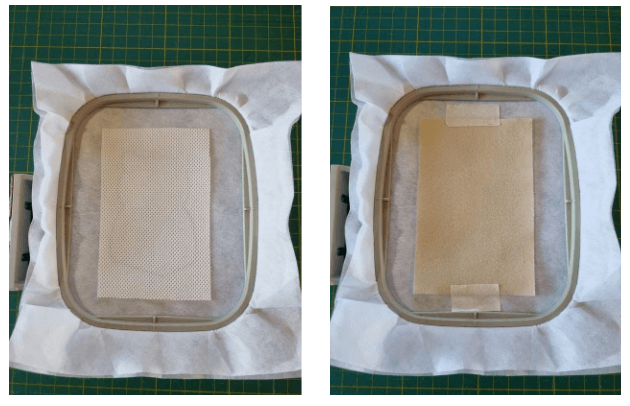
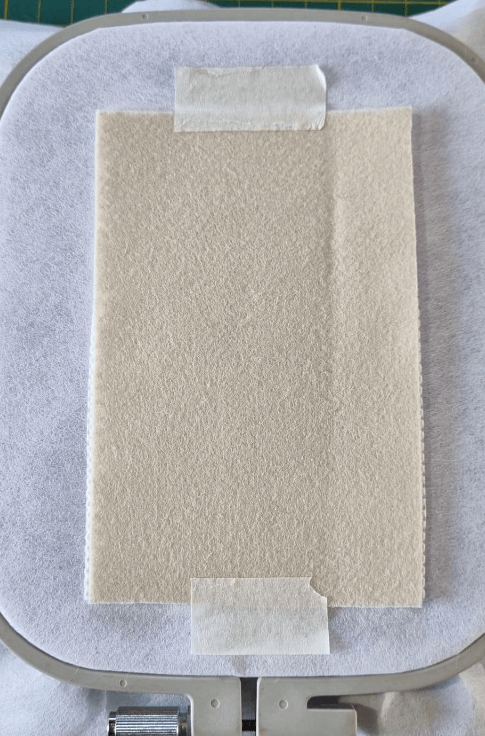
STEP 03
Place the 100 gsm nonwoven fabric (TNT) over the placement line first, followed by the felt.
Secure both layers with masking tape around the edges.
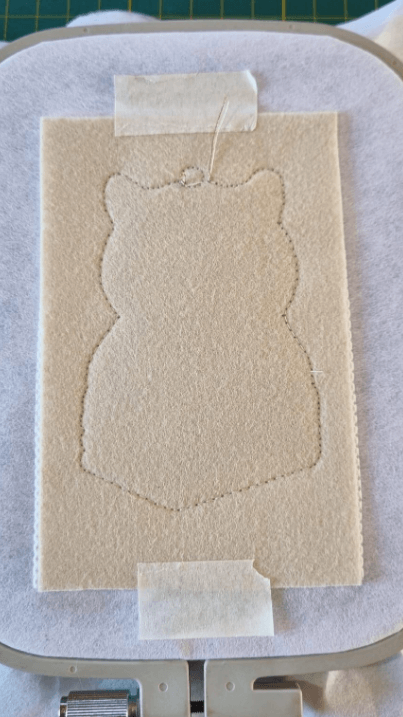
STEP 04
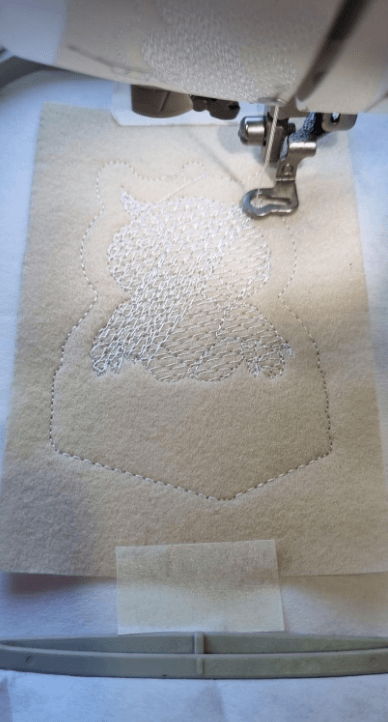
Return the hoop to the embroidery machine.
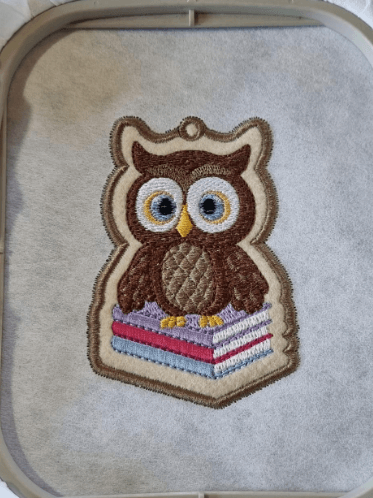
Stitch the securing stitch.
STEP 05
Keep the hoop on the embroidery machine.
Continue embroidering the Owl through Color 15 of the embroidery design.
STEP 06
Remove the hoop from the embroidery machine.
Remove the masking tape.
Trim any loose threads around the edges.
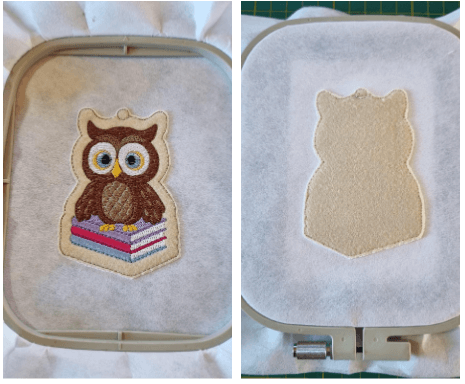
BACK
STEP 07
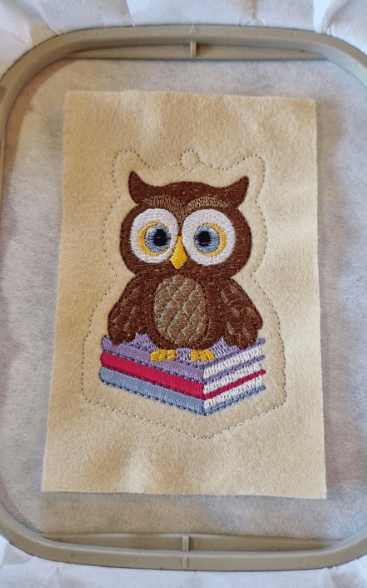
On the back of the hoop, place the 100 gsm nonwoven fabric (TNT) first, followed by the felt.
Secure both layers with masking tape around the edges.
FRONT
STEP 08
Return the hoop to the embroidery machine.
Stitch the next step of the embroidery design, which will secure the back layer.
STEP 09
Remove the hoop from the embroidery machine.
Carefully trim away the excess nonwoven fabric (TNT) and felt from both the front and the back.
STEP 10
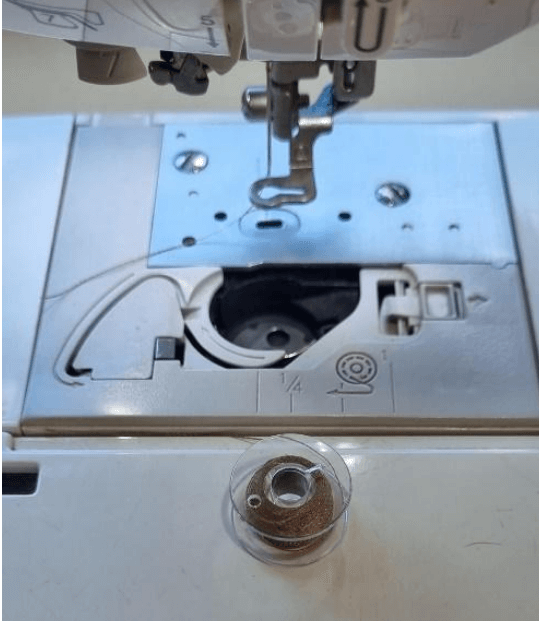
Replace the bobbin with the thread color chosen for the satin stitch finishing.
STEP 11 - FRONT
Return the hoop to the embroidery machine.
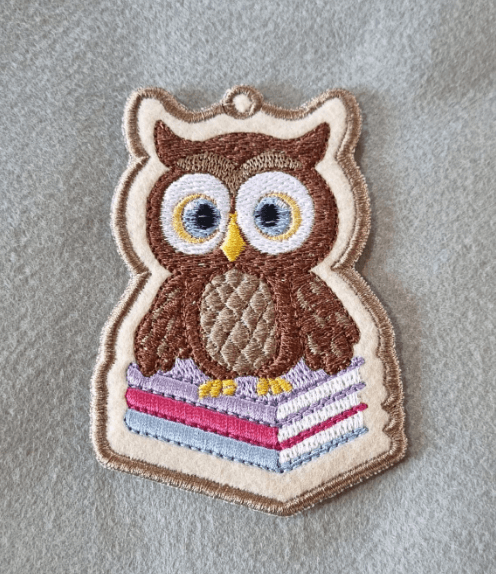
Stitch the final step of the embroidery design, which will create the final satin stitch finishing.
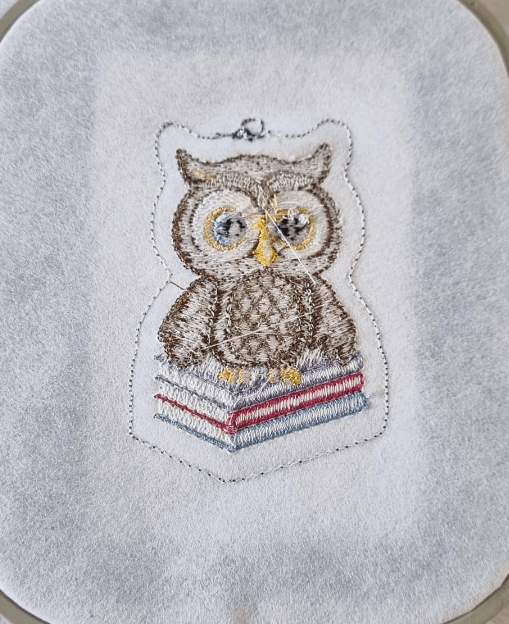
STEP 11 – BACK
STEP 12
Remove the project from the hoop.
Tear away the stabilizer and clean the finished embroidery.
Open the hole for the key ring and attach the key ring.
AND THAT'S IT!
Your Owl Keychain is now complete!
EMBROIDERY DESIGN INCLUDED IN THIS PROJECT
Owl Keychain (Project)
Embroidery Design
1 size
color
instant download
$ 3.75
Add to Cart
×
Sign in to Your Account
Before you start shopping, please sign in.
Email
Password
Sign In
Register
;
Forgot my password
Create Account
Free edition for a limited time
×
×
Embroidery Design Information
COLOR MAP
SIZES
a
b
×
Tamanho e o formato.
×
Enter your name and E-mail to download the embroidery.
Your Name
Your E-mail
OK