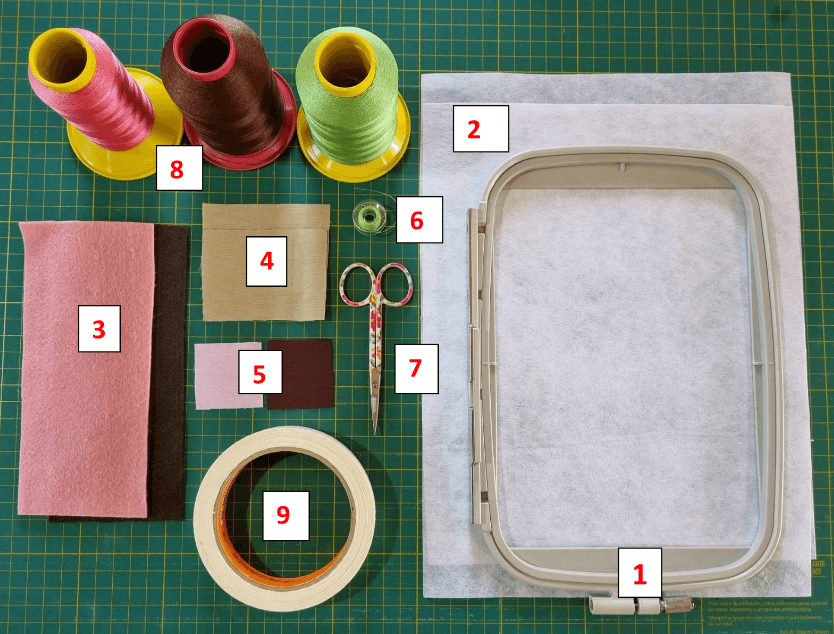
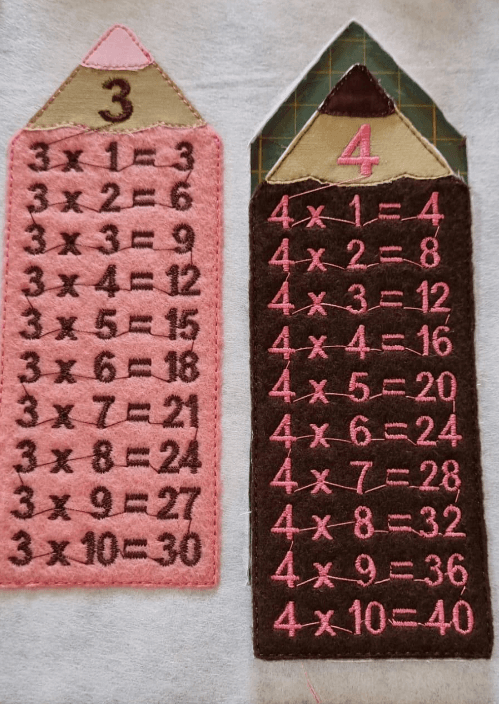
1 - 5 x 7 in (13 × 18 cm) embroidery hoop
2 - Two layers of tear-away stabilizer
3 - Two pieces of felt in different colors
4 - Two pieces of beige tricoline fabric or felt measuring 6 × 8 cm (2.36 × 3.15 in) (wood section between the pencil body and the tip)
5 - One piece of fabric measuring 4 × 4 cm (1.57 × 1.57 in) in the color of each felt for the pencil tip
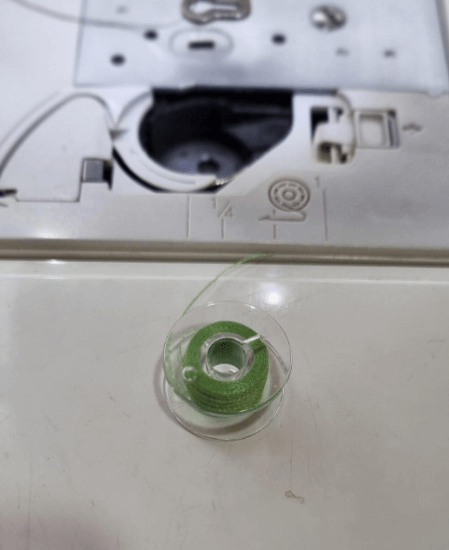
6 - One bobbin wound with the finishing thread color
7 - Small sharp-point embroidery scissors
8 - Embroidery thread
9 - Masking tape
STEP-BY-STEP – STAGE 01
STEP 01
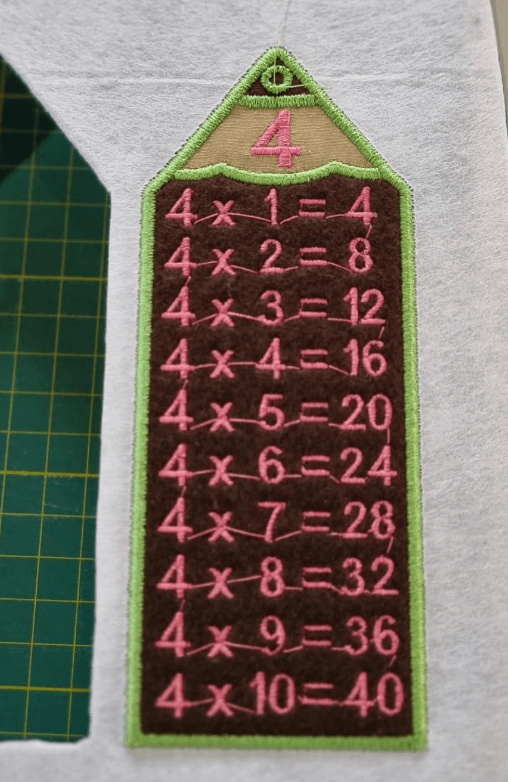
In this stage, you will first embroider the Even Number Multiplication Table design on the right side of the embroidery hoop.
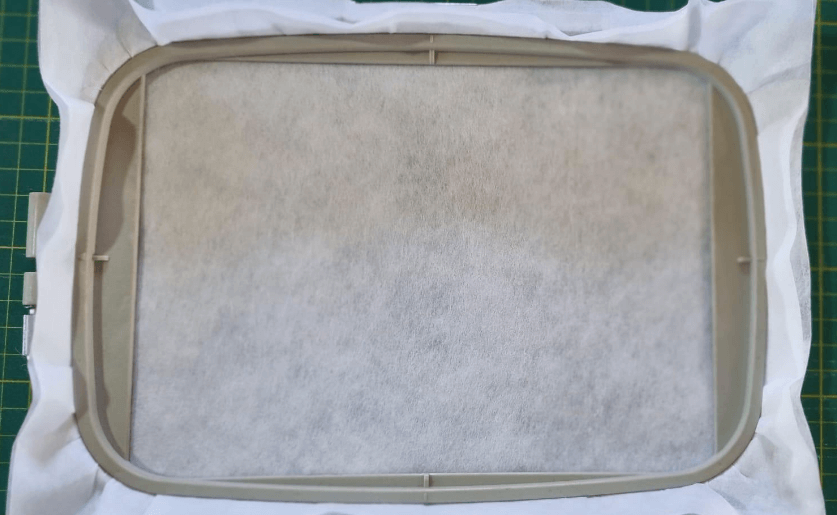
Hoop the two layers of tear-away stabilizer.
STEP 02
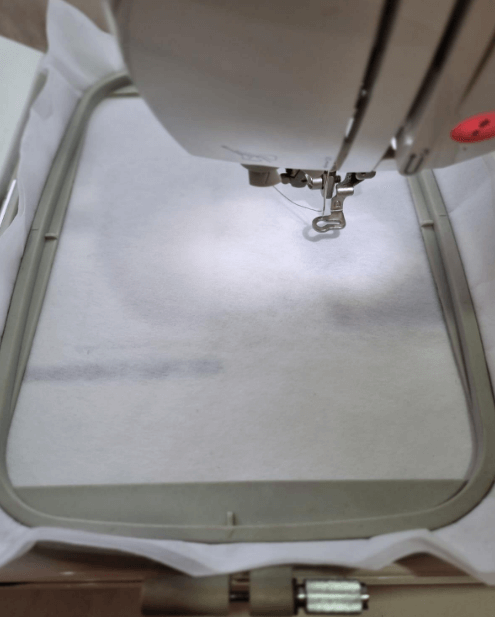
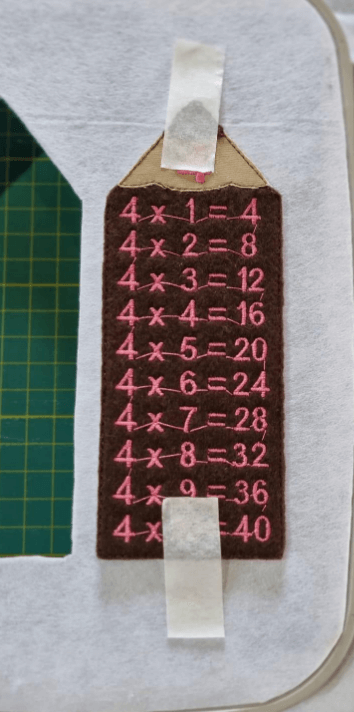
Load the Even Number Multiplication Table design into the embroidery machine and move the hoop all the way to the RIGHT side, as shown in the photo.
STEP 03
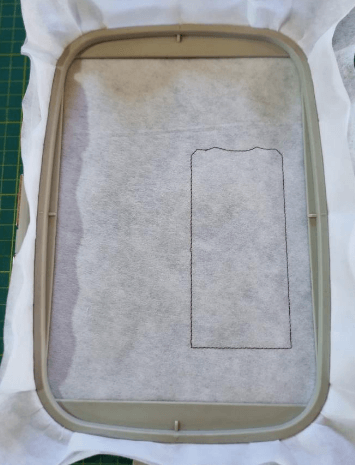
Stitch the first placement line.
STEP 04
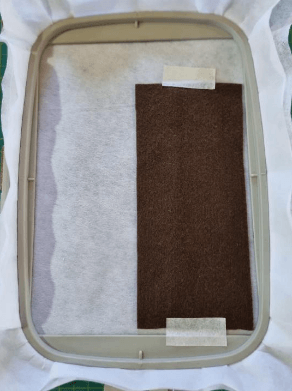
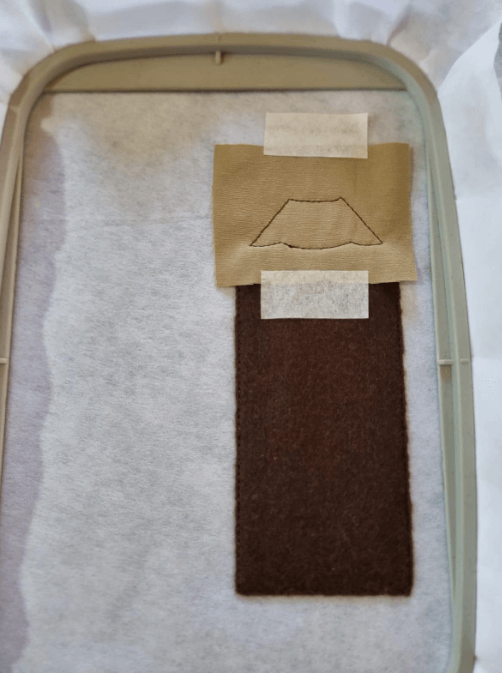
Place the felt over the placement line and secure it around the edges with masking tape.
STEP 05
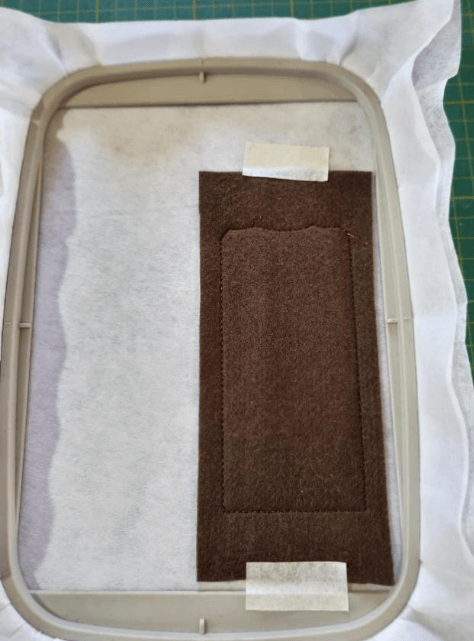
Return the hoop to the embroidery machine and stitch the tack-down to secure the felt.
STEP 06
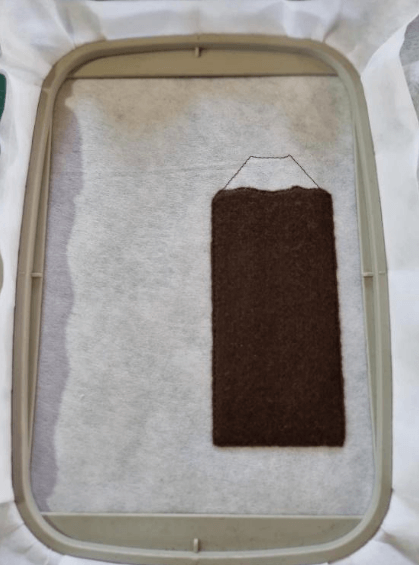
Trim away the excess felt.
STEP 07
Return the hoop to the embroidery machine and stitch the next placement line.
STEP 08
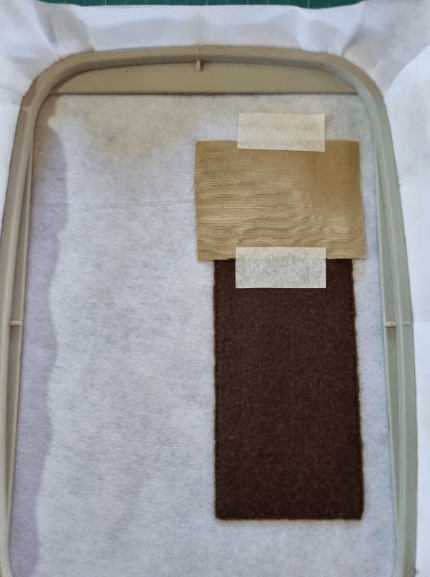
Place the beige tricoline fabric or beige felt measuring 6 × 8 cm (2.36 × 3.15 in) over the placement line and secure it with masking tape.
STEP 09
Return the hoop to the embroidery machine and stitch the tack-down to secure the fabric.
STEP 10
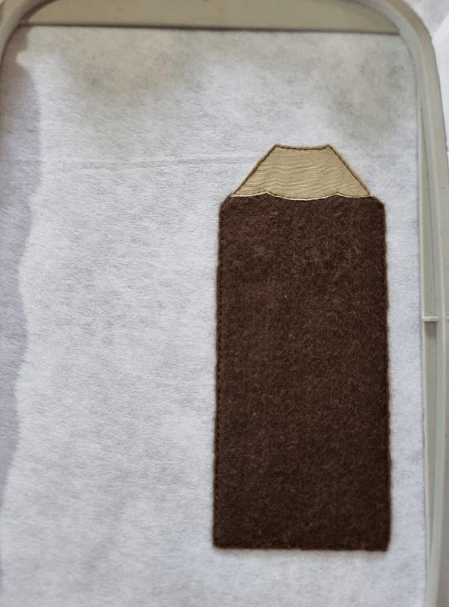
Trim away the excess fabric.
STEP 11
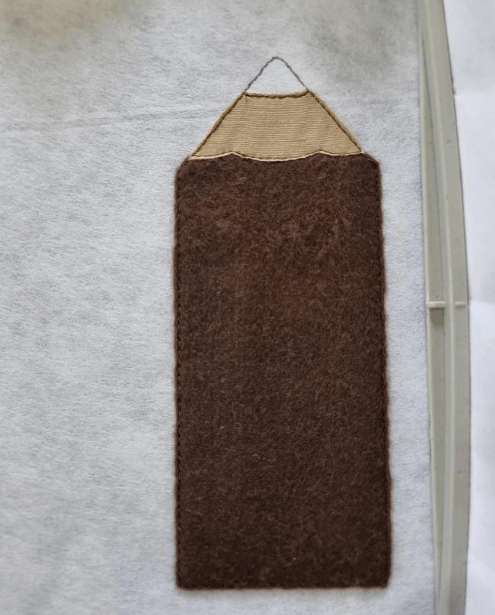
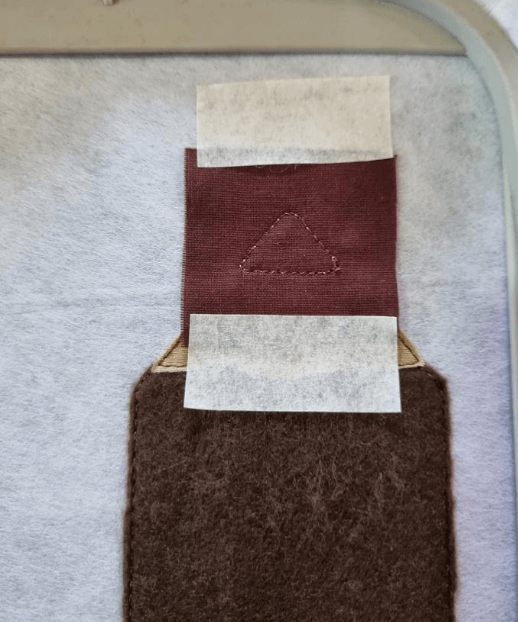
Return the hoop to the embroidery machine and stitch the placement line for the pencil tip.
STEP 12
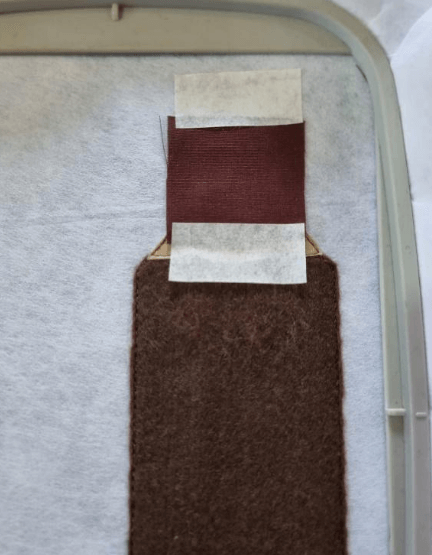
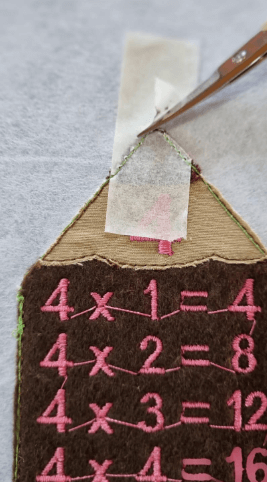
Remove the hoop from the embroidery machine. Place the 4 × 4 cm (1.57 × 1.57 in) piece of fabric or felt, matching the color of the pencil, over the placement line and secure it with masking tape.
STEP 13
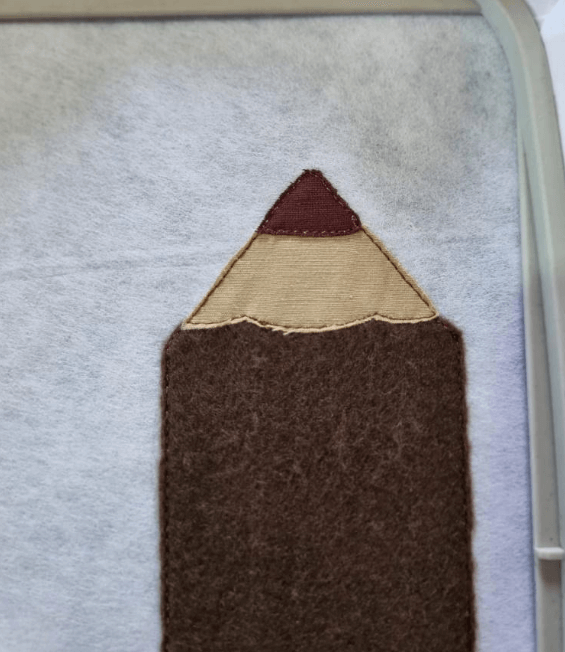
Return the hoop to the embroidery machine and stitch the tack-down to secure the fabric.
STEP 14
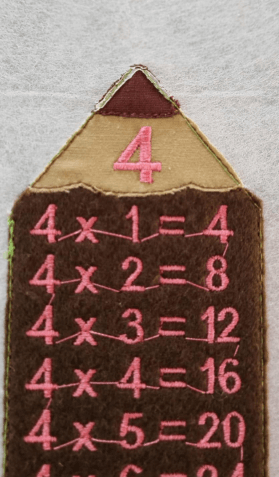
Trim away the excess fabric.
STEP 15
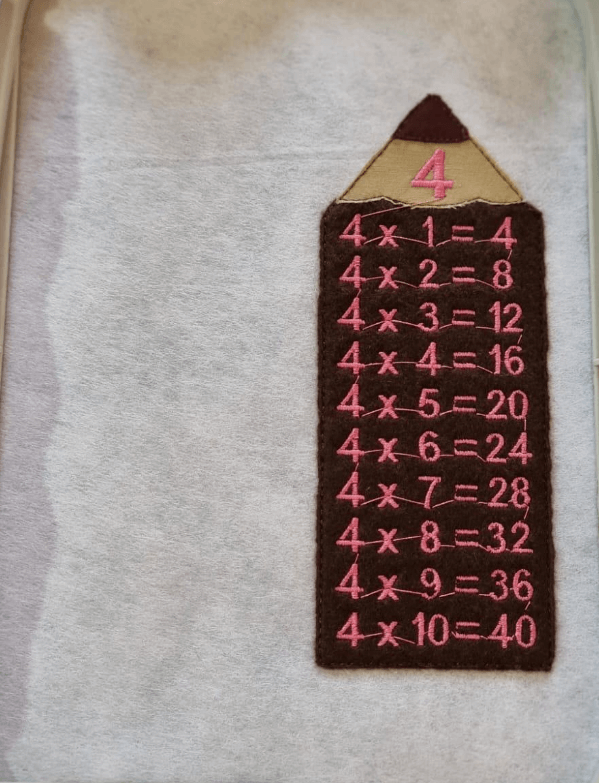
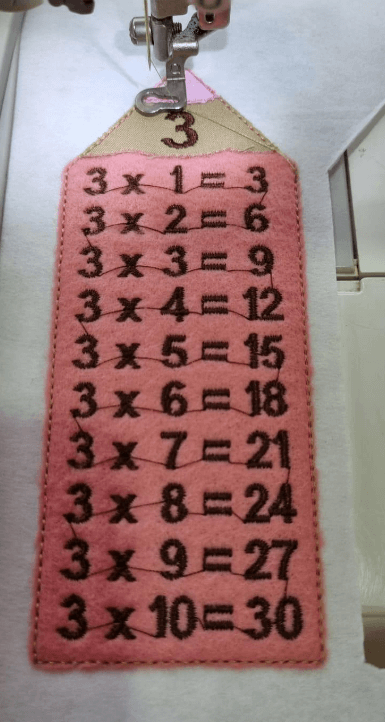
Return the hoop to the embroidery machine and continue stitching the next part of the design, which will embroider the numbers.
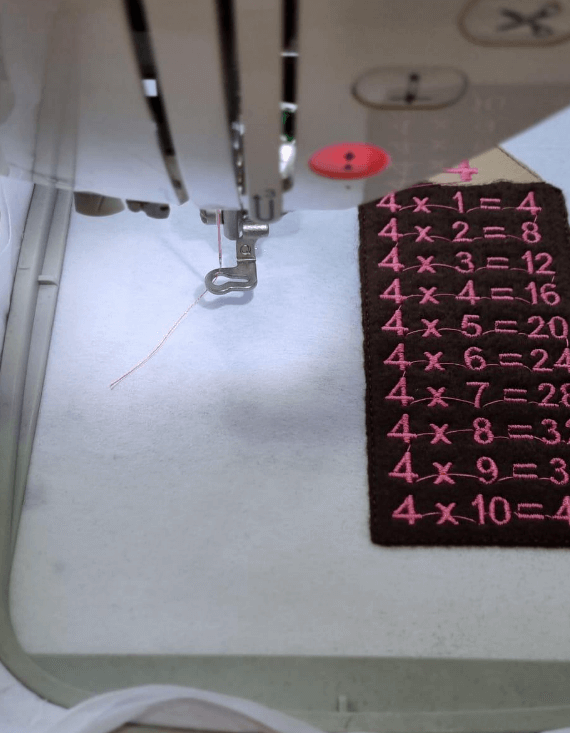
Do not remove the hoop from the machine after the embroidery is finished.
STEP-BY-STEP – STAGE 02
STEP 01
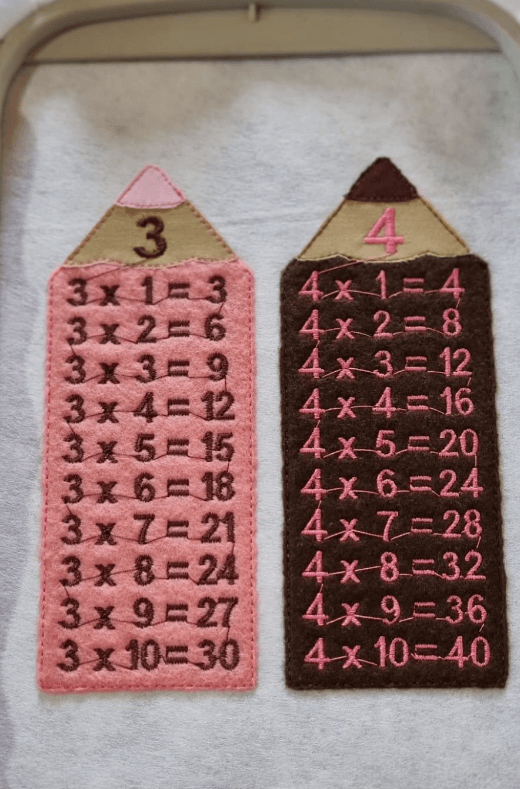
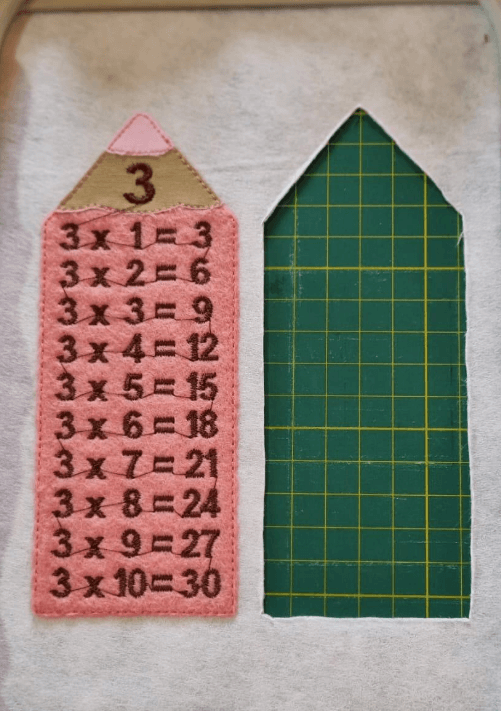
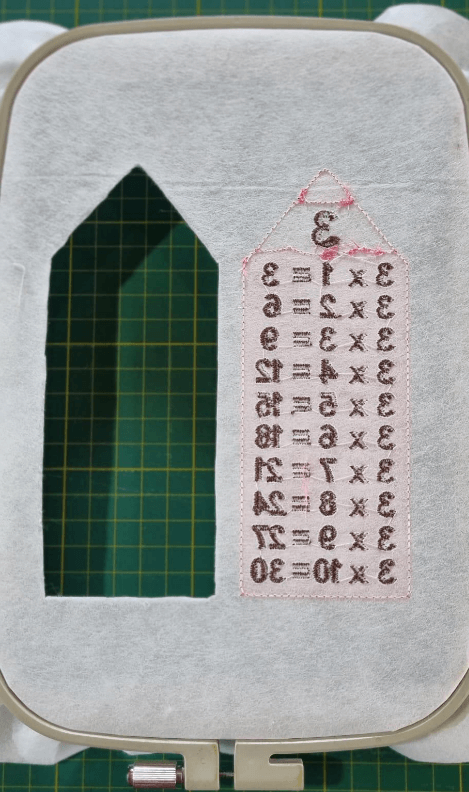
Load the Odd Number Multiplication Table design into the embroidery machine and move the hoop all the way to the LEFT side, as shown in the photo.
STEP 02
Stitch the first placement line.
STEP 03
Repeat Steps 04 through 13 from STAGE 01.
At this point, only the final two embroidery steps will remain to be completed in the next stage.
STEP 04
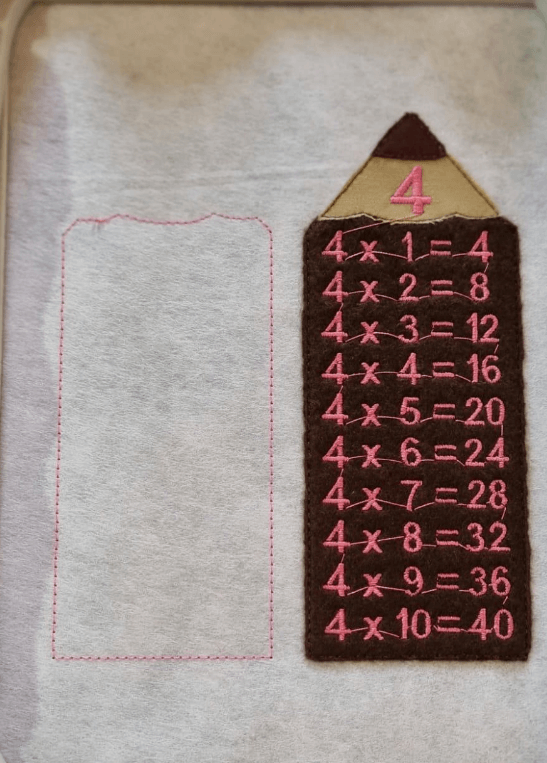
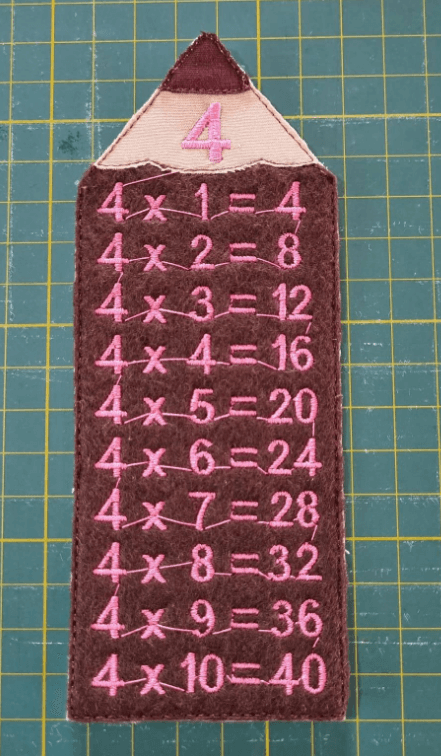
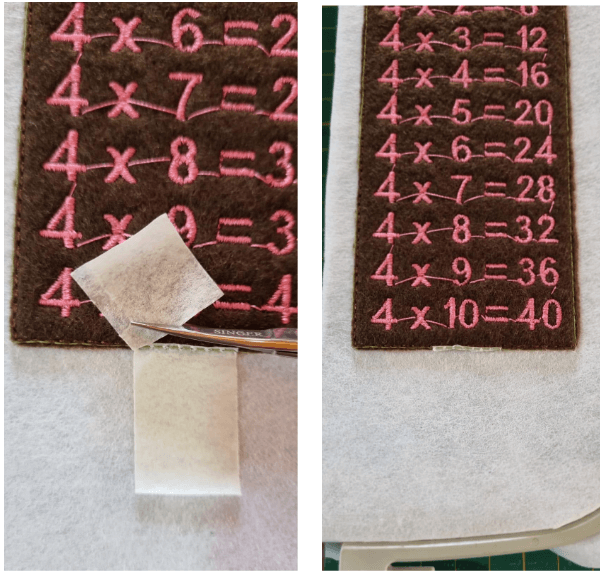
Remove the hoop from the embroidery machine and carefully trim around the entire Even Number Multiplication Table embroidery, without removing it from the hoop, as shown in the photos below.
Always support the other multiplication table with your hand to prevent the tear-away stabilizer from shifting.
STEP 04 – IN PROGRESS
STEP 04 – COMPLETED
STEP 05
After trimming, there will be an empty space. Don't worry—this will not affect the alignment of the remaining two embroidery steps.
STEP 06
Trim away any excess tear-away stabilizer that may still be attached to the piece.
STEP 07
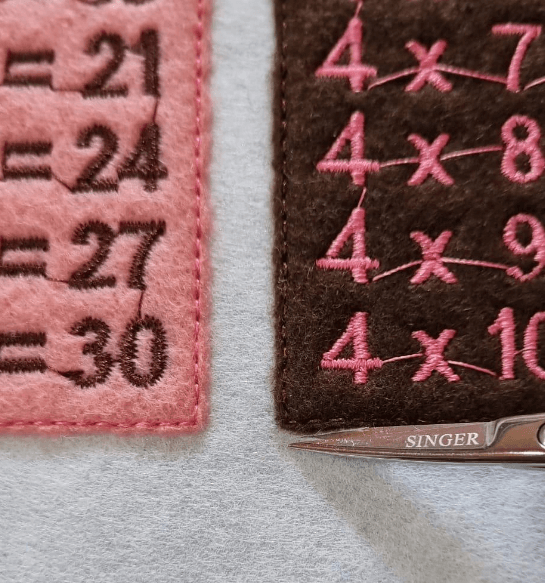
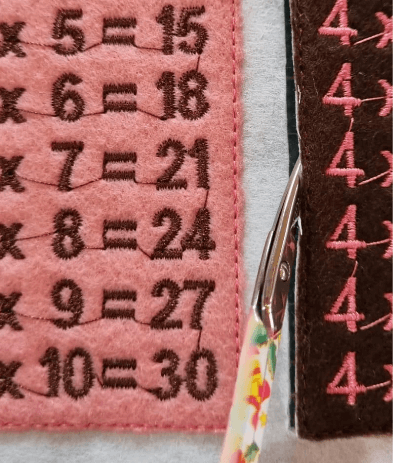
Trim any loose thread ends from the back of both pieces, close to the edges.
STEP 08
Turn the hoop over so that the back side is facing up.
STEP 09
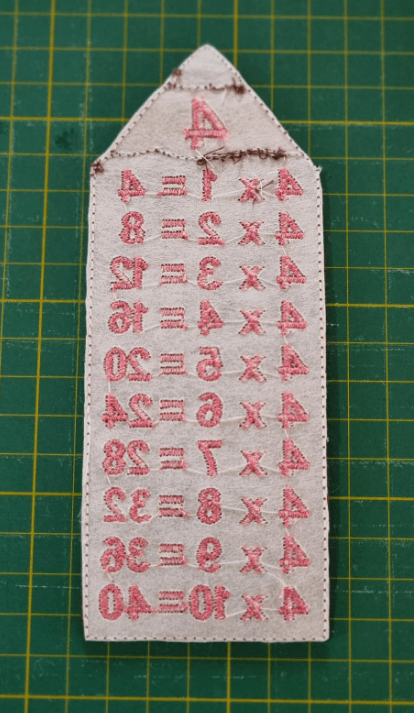
Position the completed Even Number Multiplication Table with the right side facing up, aligning it with the stitching lines of the multiplication table still in the hoop from the back, as shown in the photo.
Secure it with masking tape at the top and bottom edges.
STEP 10
Replace the bobbin with the one wound with the finishing thread color.
STEP 11
Return the hoop to the embroidery machine and stitch the final seam to join both pieces together.
STEP 12
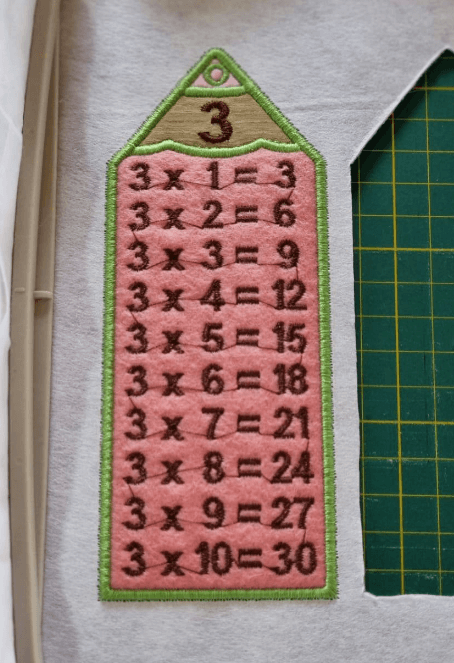
Remove the hoop from the embroidery machine and cut away the masking tape, as shown in the photos below.
STEP 12 – COMPLETED
STEP 12 – ASSEMBLY / FINISHING
STEP 13
Return the hoop to the embroidery machine and stitch the final finishing outline.
STEP 14
Remove the tear-away stabilizer from both sides and clean up the embroidery.